The User Experience
The user experience heavily depends on the realization of embedding the signing feature into your website. You can see a version of integration on our demo-page. At some stage your website should recommend the user to install the plugin and the browser extension. Depending on the token the user has to install libraries from the token manufacturer.
The basic scenario of using the digital signature:
- User opens the webpage with the signing function.
- User activates the signing function (e.g. chooses the document and presses the "Sign" button).
- (In Crome or Firefox) Webpage checks whether the browser extension is installed. If not - displays the appropriate link.
- Webpage checks whether the plugin is installed. If not - displays the appropriate link to the plugin package.
- Webpage checks whether a digital signature device is found. If not - asks the user to attach at least one key.
- Webpage displays all available certificates on attached keys.
- User chooses one certificate and enters the PIN code.
- Webpage displays the result of signing.
Plugin Installation
Windows
After the user downloads the installation package and runs it he sees the following page:
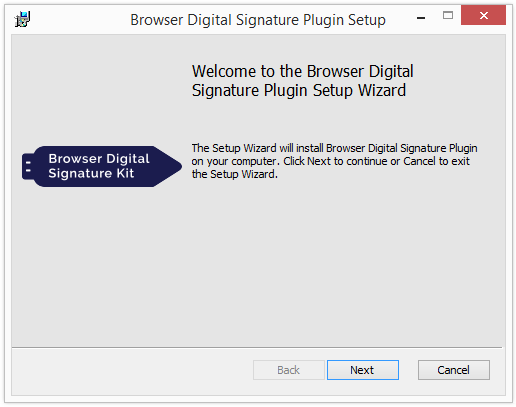
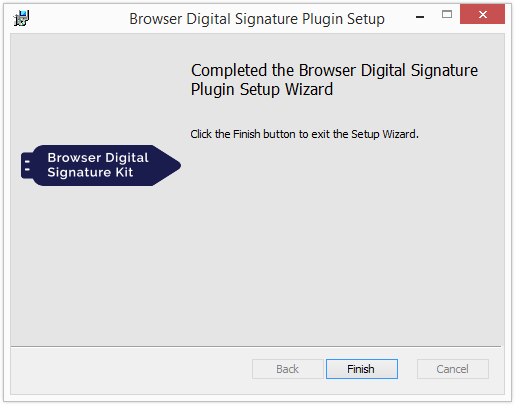
He should follow the steps of the wizard: agree with the license agreement, specify the installation path and wait for the installation to complete:
macOS
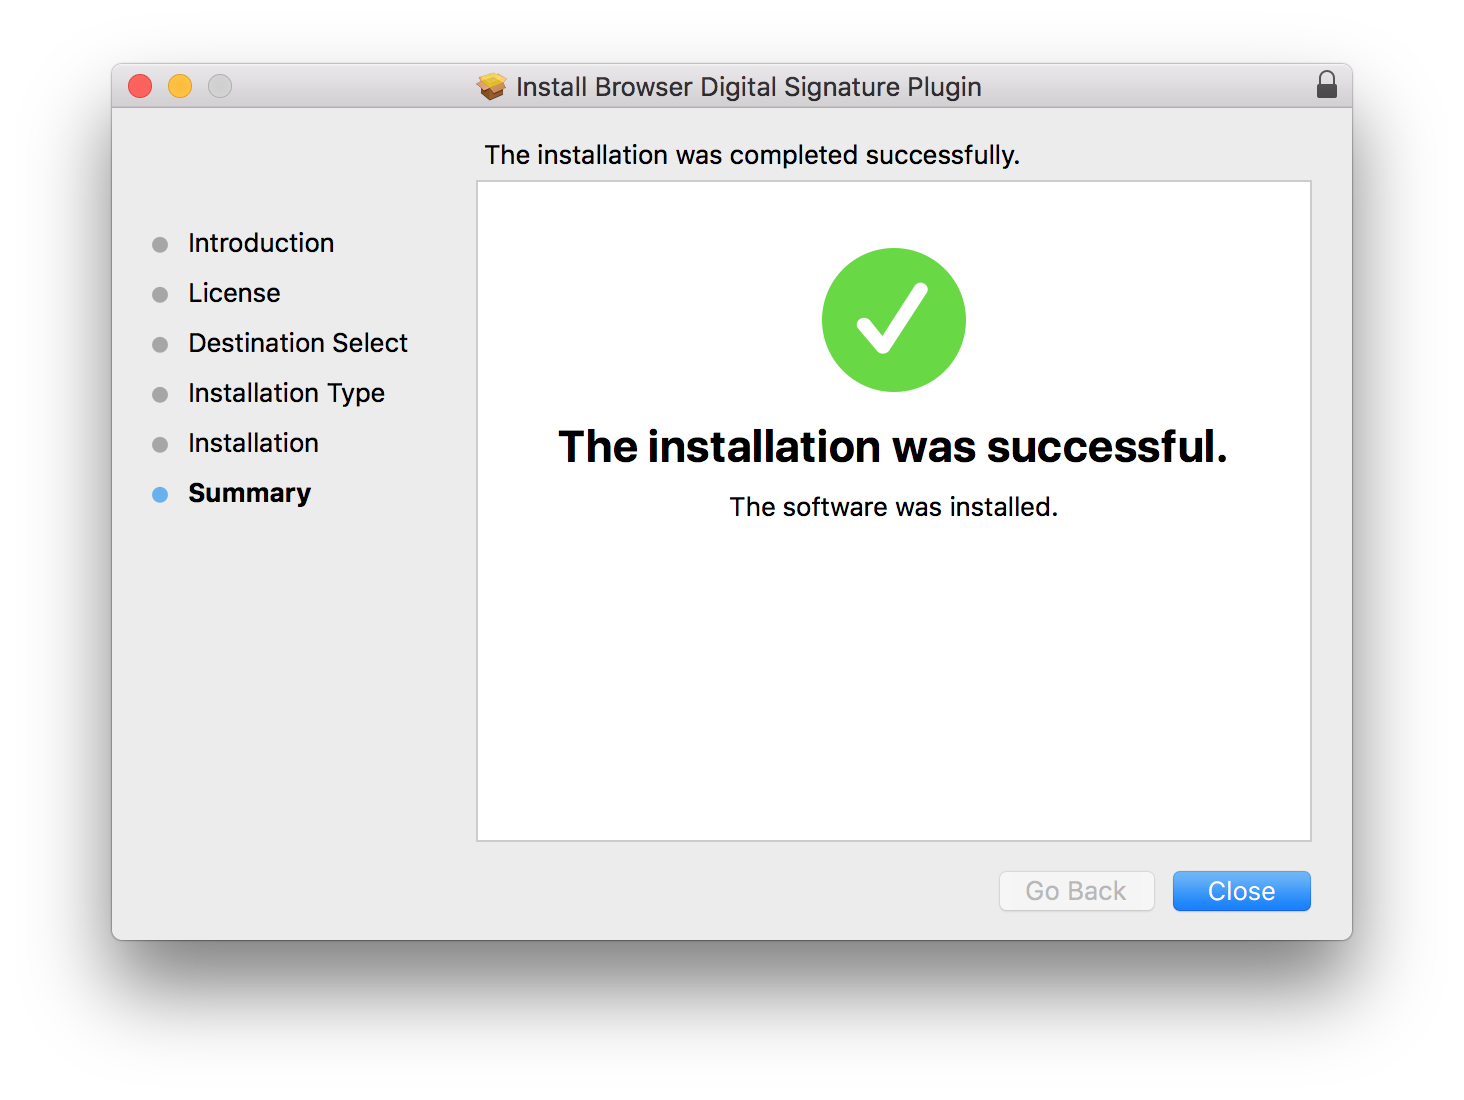
After the user downloads the installation package and runs it, he sees the following page:
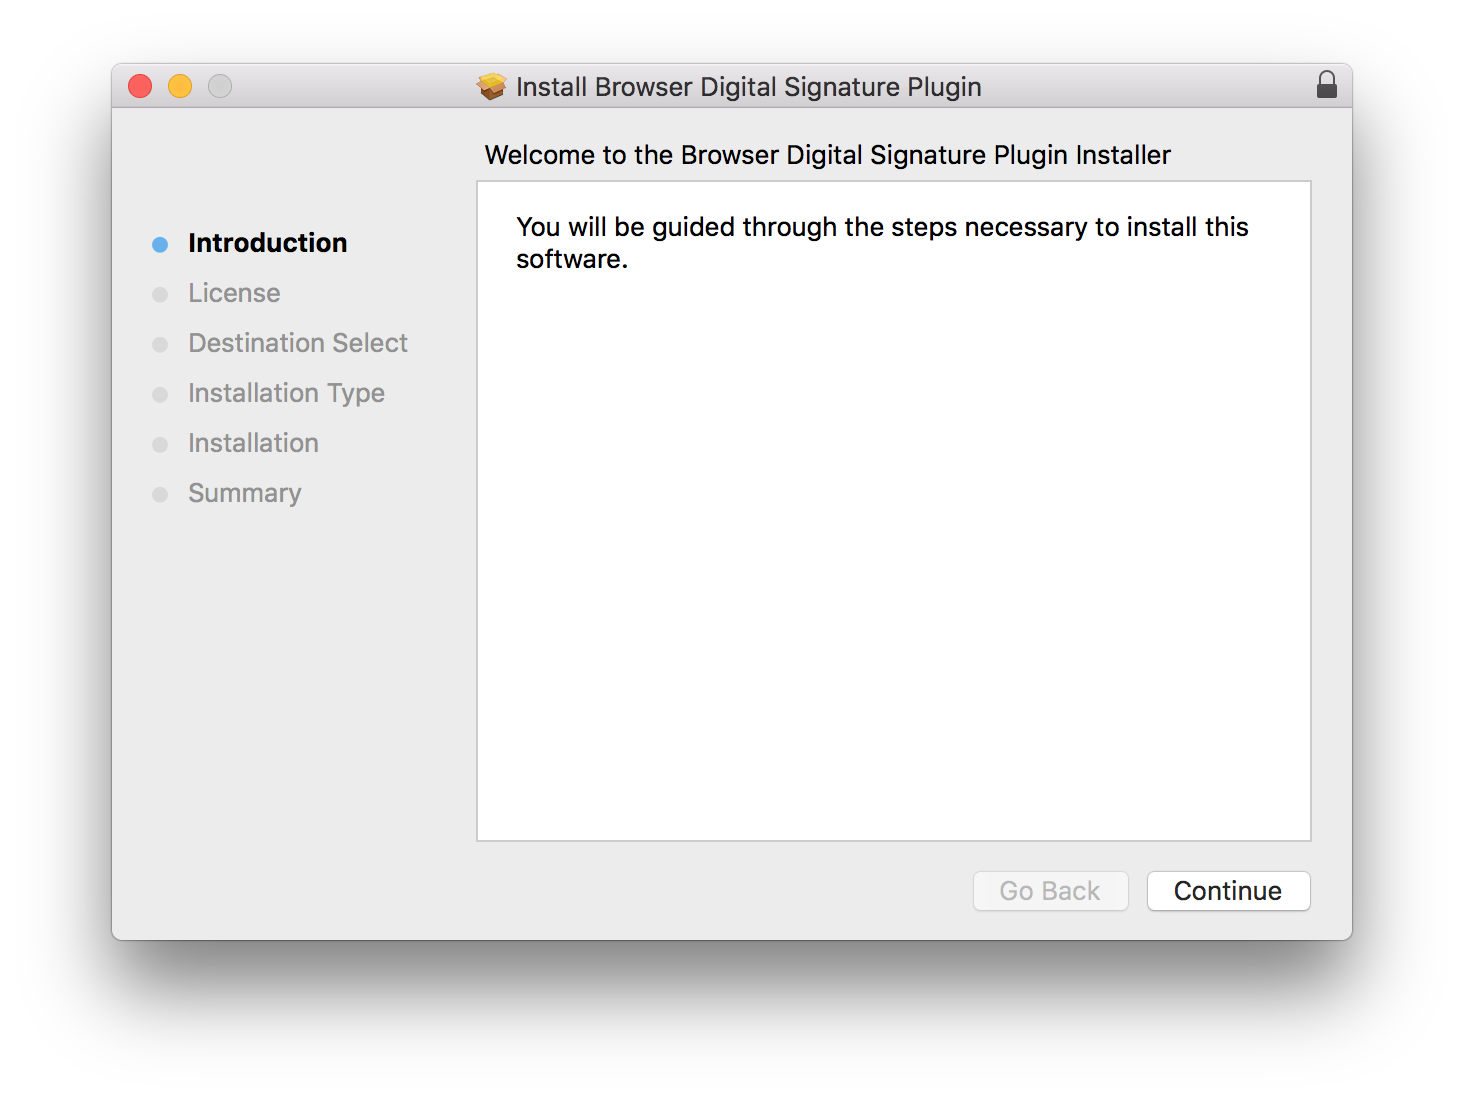
He should follow the steps of the wizard: agree with the license agreement, specify the installation path and confirm the installation with a password.
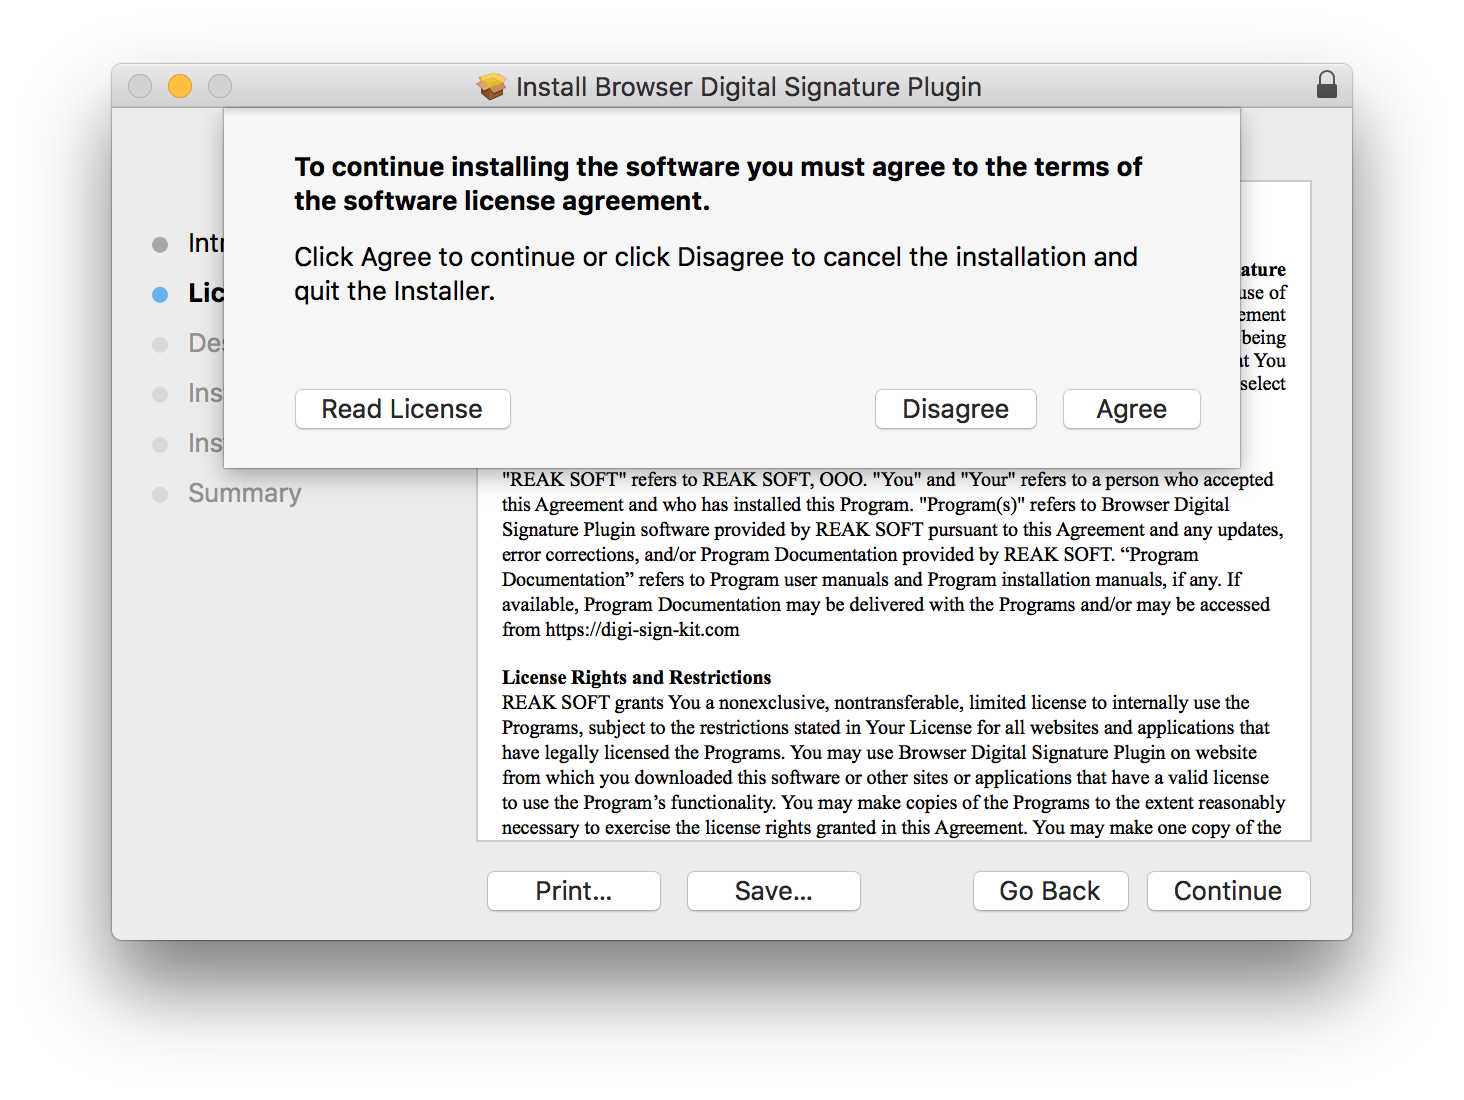
Then he should wait for the installation to complete:
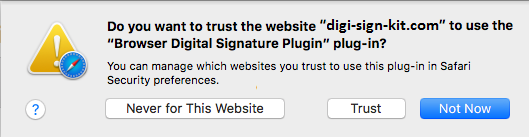
In case the browser (e.g. Safari) blocks the plugin, user has to choose the Trust option:
Linux
User should download the appropriate package for his Linux distribution. Blitz Smart Card Plugin includes .rpm and .deb packages. For example, if he uses a the rpm-package, he should execute the command:
Sudo rpm -Uvh Downloads/BlitzScPlugin.rpm
Where Downloads/BlitzScPlugin.rpm is the name (with path) of the downloaded plugin package.
Extension Installation
The browser extension is installed in the same way in all operating systems. Extensions are available:
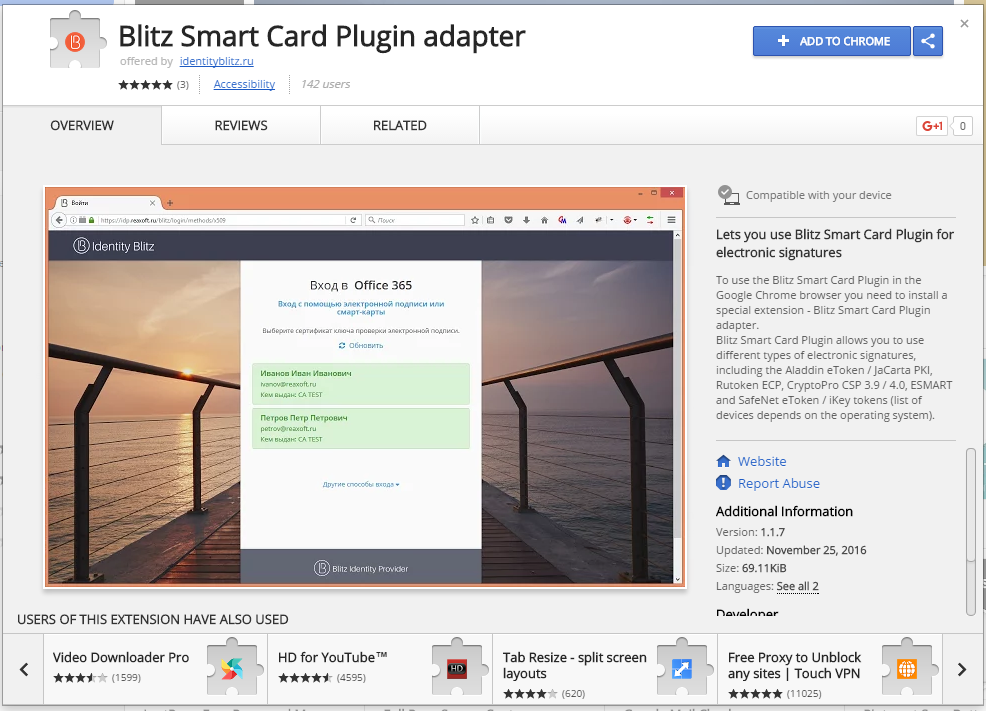
- for Chrome: Chrome Webstore
- for Firefox (temporarily): on the Blitz Smart Card Plugin developer website. Please note that the link works only if it is called in the users's click context - see our demo-page as an example.
In Chrome the user has to press the Add to Chrome button.
In Firefox user has to agree to install the add-on and follow the instructions.
Plugin Updating
To update the plug-in, install the new version. The upgrade does not require the removal of the Blitz Smart Card Plugin.
Plugin Uninstalling
Windows
If you need to remove the plug-in in the Windows environment, go to the "Control Panel", find the "Uninstall a Program" section.
In the window select the Blitz Smart Card Plugin application and click on the "Uninstall" button:

After that the application uninstall wizard will start.
macOS
To uninstall the plugin in macOS you must go to the folder with the plugin installed:
/Library/Internet Plug-Ins
(If the plugin was installed for all users)
or
/Users/<USERNAME>/Library/Internet Plug-Ins
(If the plugin was installed for the current user)
Run the script:
Sudo bash BlitzScPlugin.plugin/Contents/remove.sh
(If the plugin was installed for all users)
or
Bash BlitzScPlugin.plugin/Contents/remove.sh
(If the plugin was installed for the current user)
Linux
Removing the plug-in in Linux depends on the Linux distribution. For example to uninstall the plug-in in Linux Fedora/RHEL (rpm-package), run the command:
Sudo dnf remove BlitzScPlugin
Choosing Certificate and Entering the PIN Code
The interface of displaying and choosing certificates depends on the website's realization. You can see a version of integration on our demo-page.
The PIN Code can be entered into two forms:
- Native form.
- Blitz Smart Card Plugin form.
See the developer documentation for how to change the default mode.
User has to remember that entering wrong PIN several times may cause blocking the signature device.