Login page#
Warning
The administrator of the admin console must personally check if JS-scripts placed on the login page are correct and make sure that content of the login page is free of vulnerabilities.
In the ”Login page themes” section of the Admin Console, the administrator can customize the appearance settings for the single sign-on page. If Blitz Identity Provider user registration and password recovery applications are used, their appearance will also match the settings for the single sign-on page appearance.
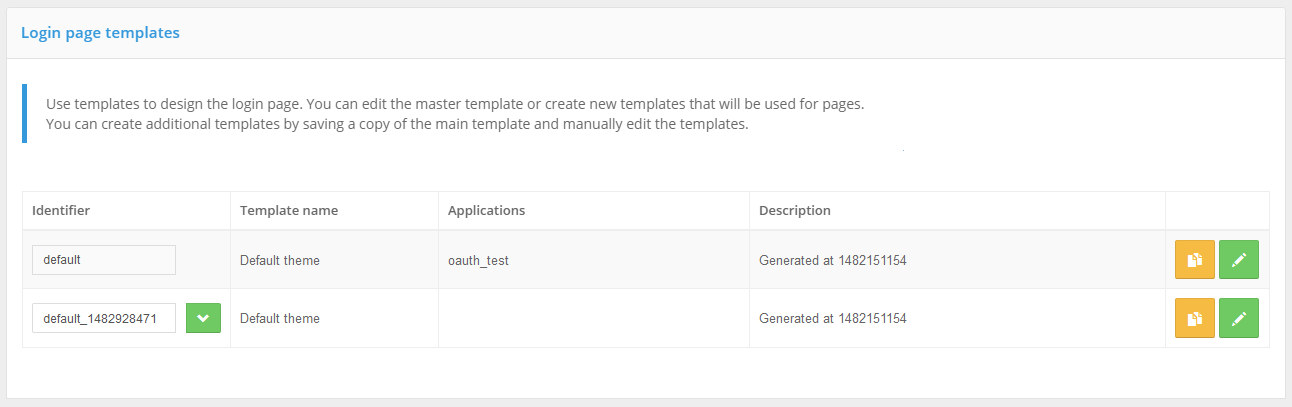
When you enter the “Appearance” section, a list of customized login page templates is displayed. Each template is described by:
template identifier;
template name;
applications list;
description.
By default, a template with the default identifier is created - this is used for all applications connected to Blitz Identity Provider, as well as for single logout pages.
The default template is edited using a special constructor (more details below).
Also you can:
create and modify new templates using the builder and assign them to different applications;
create and modify new templates manually.
Editing the default template#
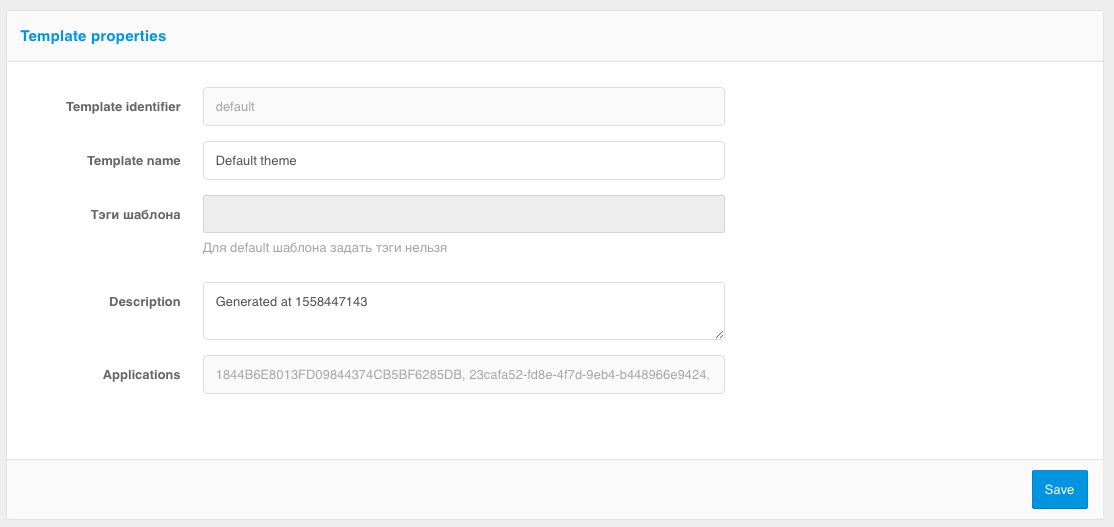
When opening the default template editing page the following information is displayed about the template itself (template identifier, template name, description and applications list), as well as the interface of the login page template builder.
Customizing the appearance of the login page (template properties):
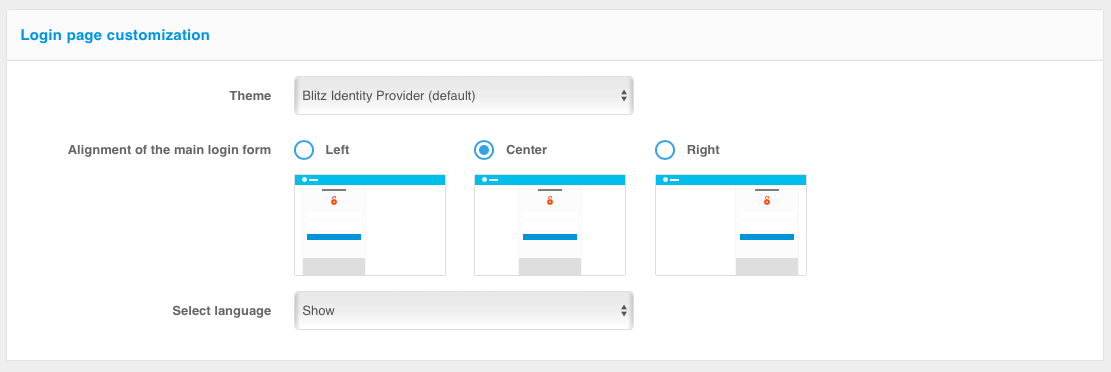
Customizing the appearance of the login page (login page appearance):
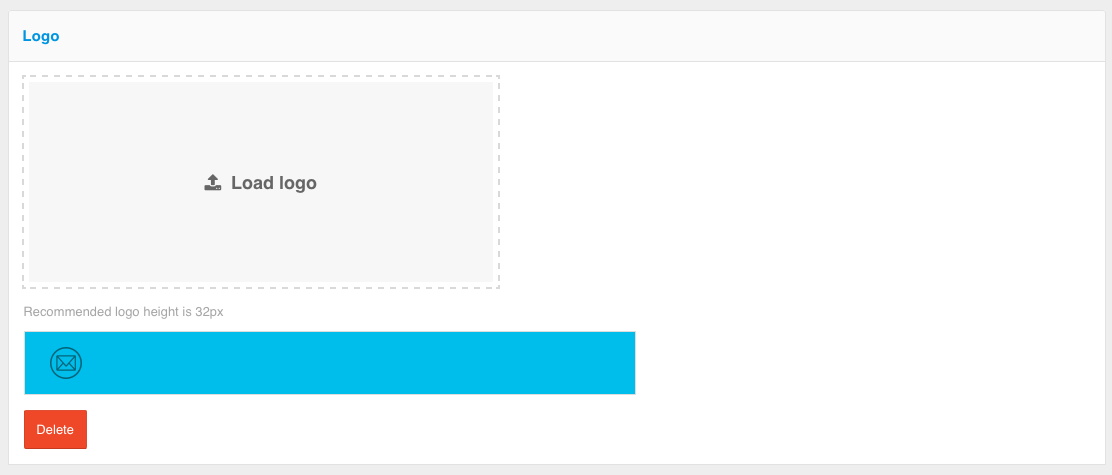
Customizing the appearance of the login page (logo):
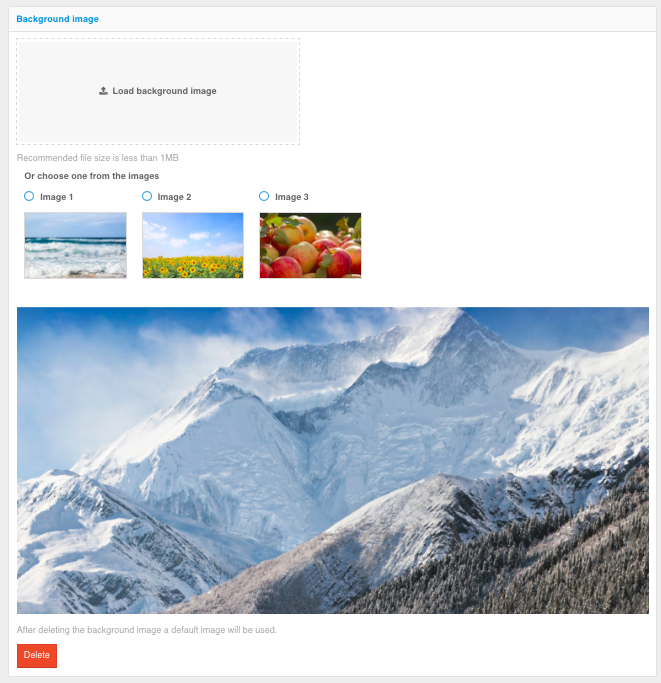
Customizing the appearance of the login page (background image):
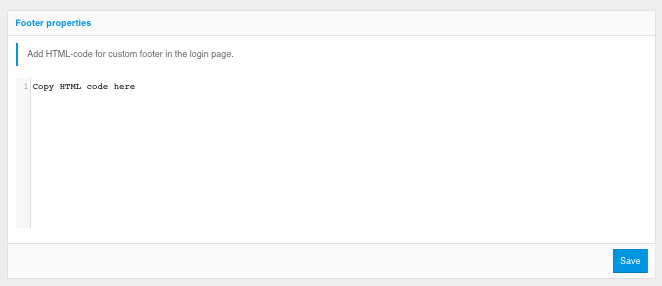
Customizing the appearance of the login page (customizing the footer):
In standard configuration Blitz Identity Provider provides the following features:
three color themes for the interface elements;
ability to define the location of the main login form block (identification and authentication, registration, password recovery);
ability to upload a company logo to be displayed in the page header;
choice of a background image (you can choose from 3 standard images in each theme, or you can upload your own, custom background image);
login page footer properties.
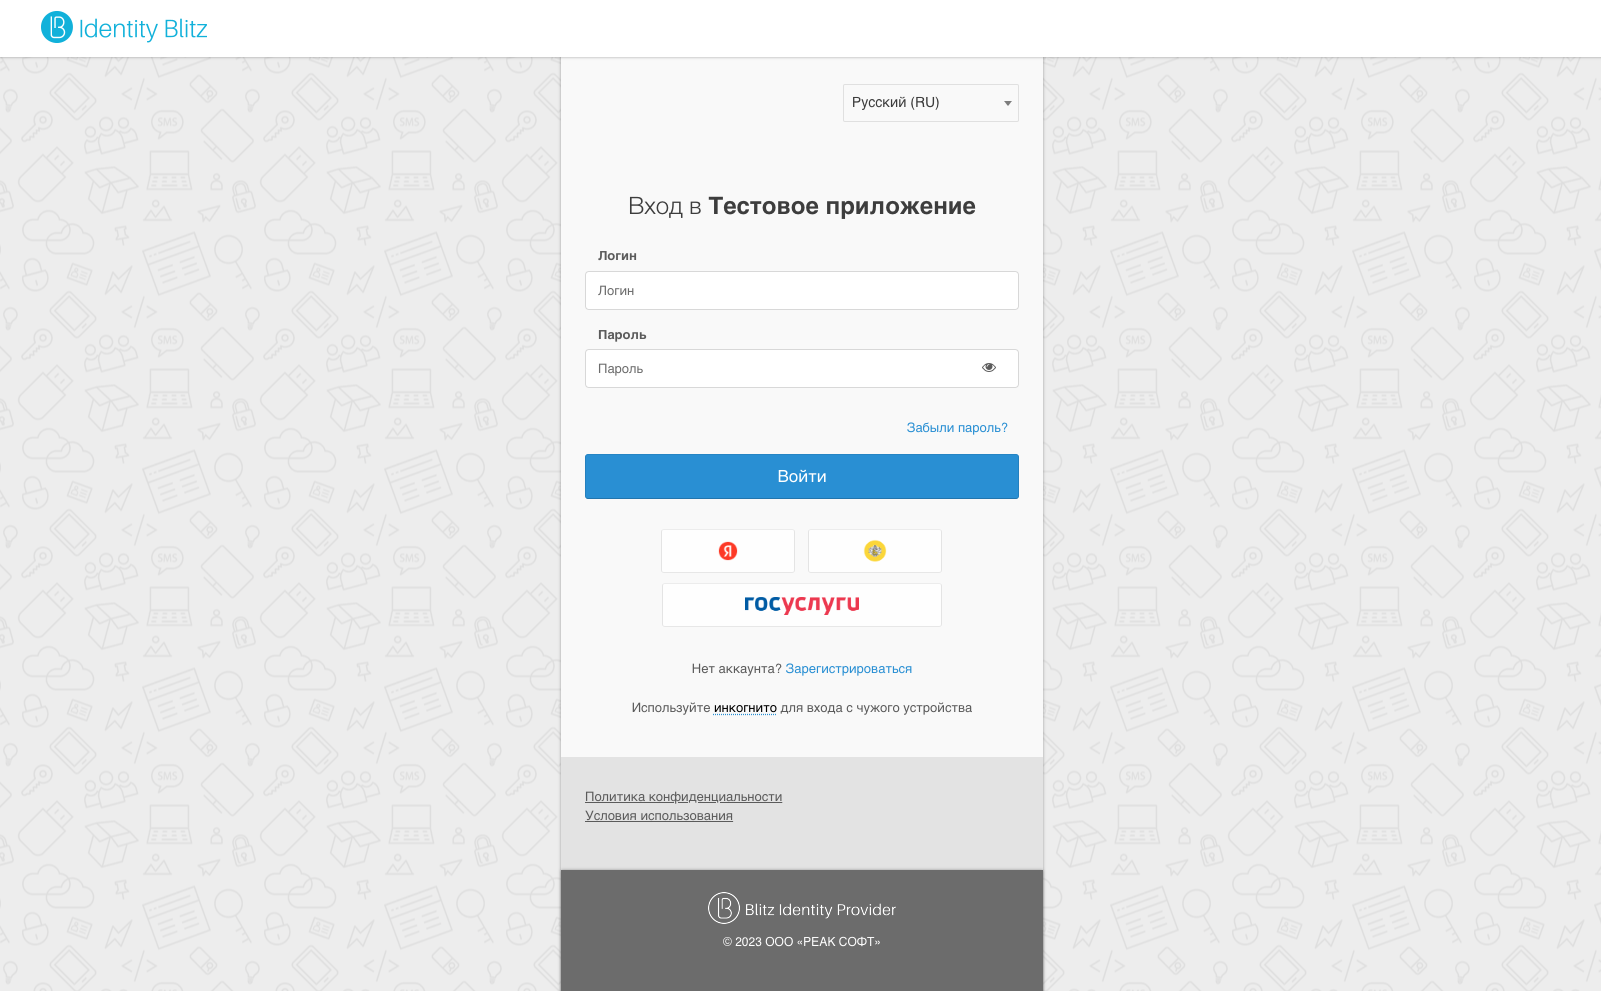
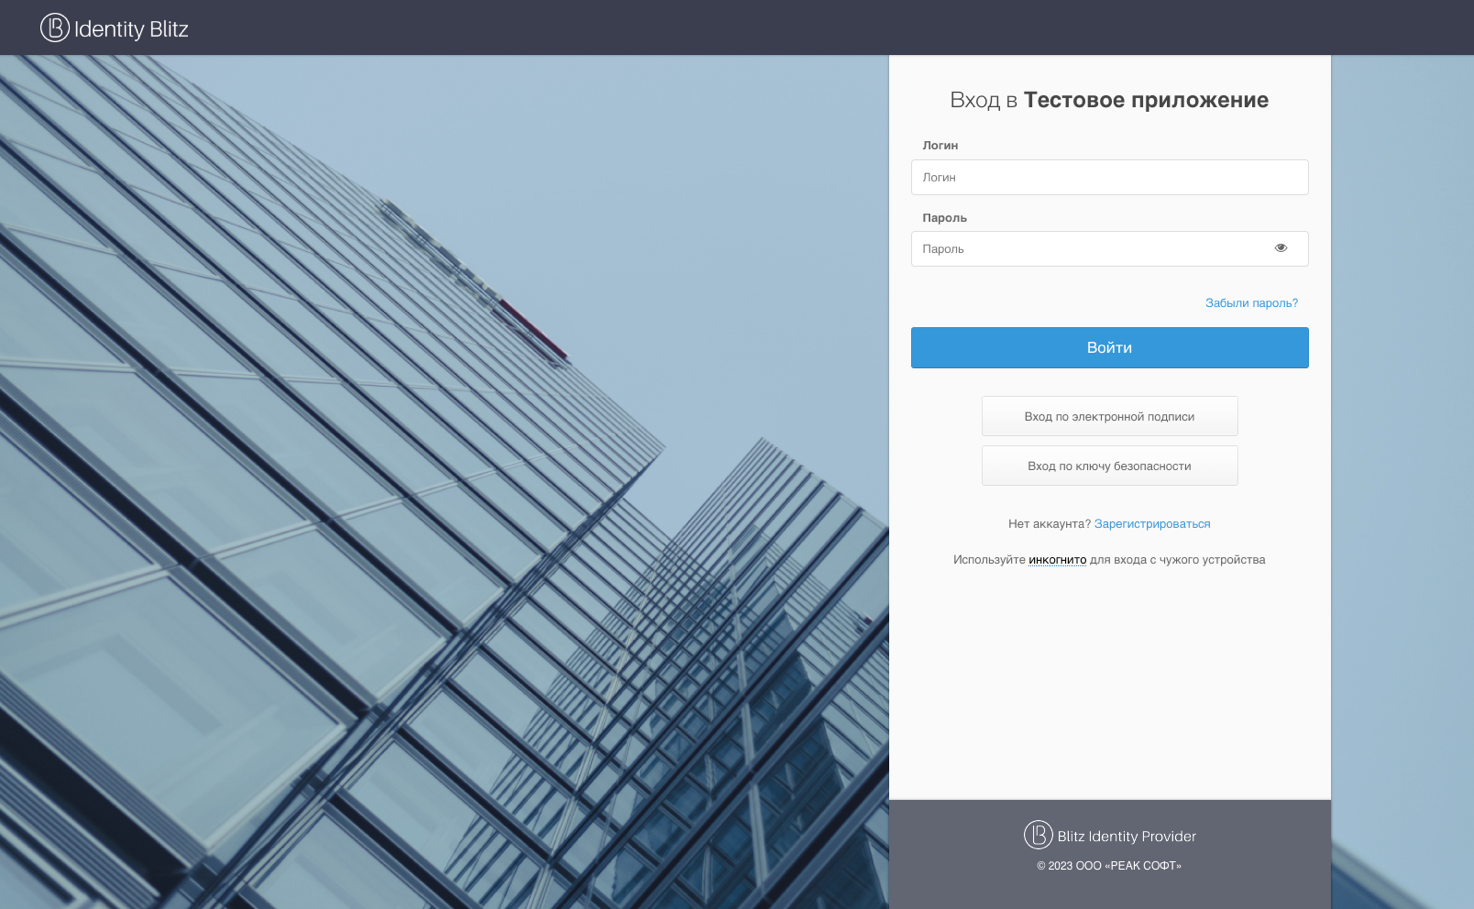
The figures below show some examples of login pages resulting from the default configuration.
Creating and modifying new templates using the constructor#
Blitz Identity Provider allows you to customize different login pages for the case when a user logs into different connected applications. To do this, you need to create new login templates - the easiest way to do this is to do it on the basis of an existing default-template by clicking the “Copy” button. After that a new template will be created, which can be edited using the constructor.
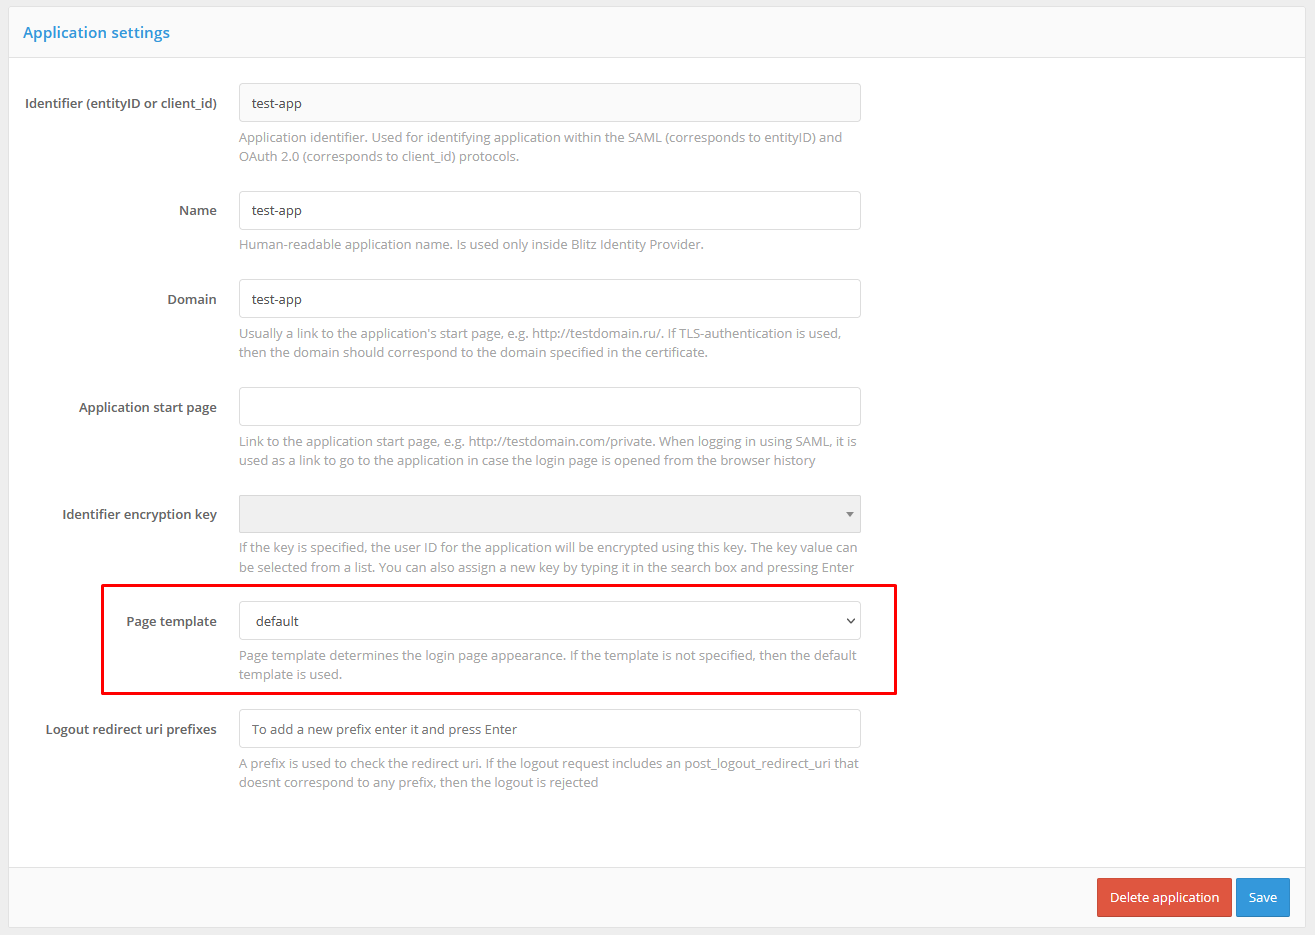
In order for the new template to be used when entering a certain application, you should go to the “Applications” section to edit the required application and select the required page template.
Creating and modifying new templates in manual mode#
You can customize the appearance of the login page to meet your organization’s individual requirements, i.e. there is no need to be limited to the features of the builder only.
Each template of the login page is a zip archive. Each login page template is a zip archive. All templates are placed in the directory:
\assets\themes
The easiest way to manually edit the template is to take the following steps:
create a copy of an existing template (e.g. default-template) by clicking the “Copy” button in the console;
go to the template directory;
unpack the archive with the new created template;
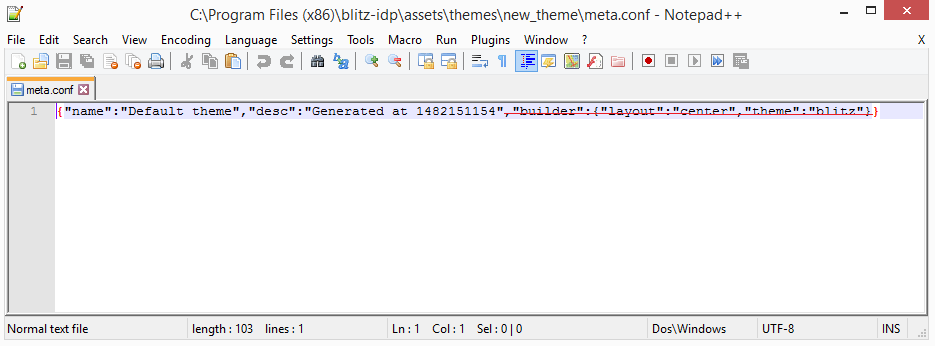
edit the
meta.conffile contained in the archive by removing thebuilderparameter;zip the template files back up, making sure the
meta.conffile is in the root directory.
After completing these steps, you will be able to edit the theme manually. In addition to the standard fields describing the theme itself, the “Page template” block is available. It allows you to create / modify a template - a text file that is compiled using the Twirl template engine <https://www.playframework.com/documentation/2.5.x/ScalaTemplates>.
The template must have a signature:
@(headers: Html, fBuilder: FormBuilder, scripts: Html, path: String)(implicit request: RelyingPartyRequest[_], messages: Messages)
You should use following parameters when creating a template:
headersis the HTML code for the page title, which should be placed in theheadtag;form- HTML code of the main form, which should be placed in thebodytag;scripts- HTML code with JavaScript required for the form to work correctly, which should be placed in thebodytag;pathAssets- context path to template resources.
The @fBuilder() function adds the code of the main authentication form to the page. The authentication form (list and composition of fields, location of buttons) is not customizable except for changes implemented by CSS means. In other words, CSS tools can be used to change the color of individual elements or hide them - to do this, find the corresponding class in the theme’s CSS file and change its properties.
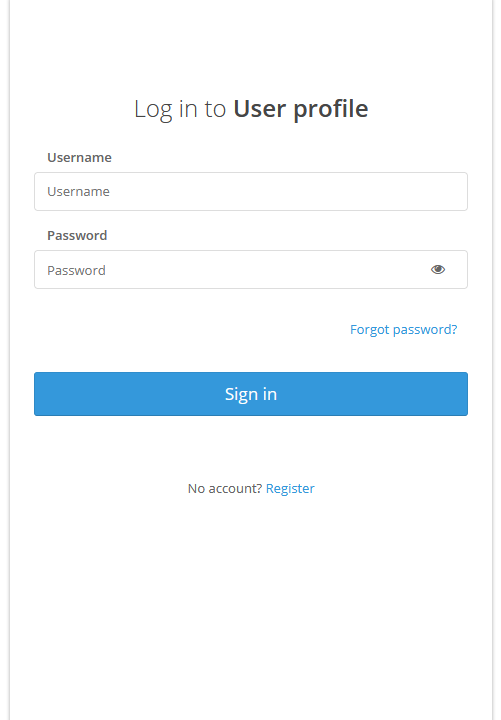
An example of the basic template is shown below:
@(headers: Html, fBuilder: FormBuilder, scripts: Html, path: String)(implicit request: RelyingPartyRequest[_], messages: Messages)

<!DOCTYPE html>
<html>

<head>
    @headers
</head>

<body>
    <div id="main">
        <section id="content_wrapper">
                @fBuilder()
        </section>
        <div>
            <div>
                @Html(messages("author.copyright"))
            </div>
        </div>
    </div>
    @scripts
</body>

</html>
When using this template, the login page will look like the one shown in the figure below.
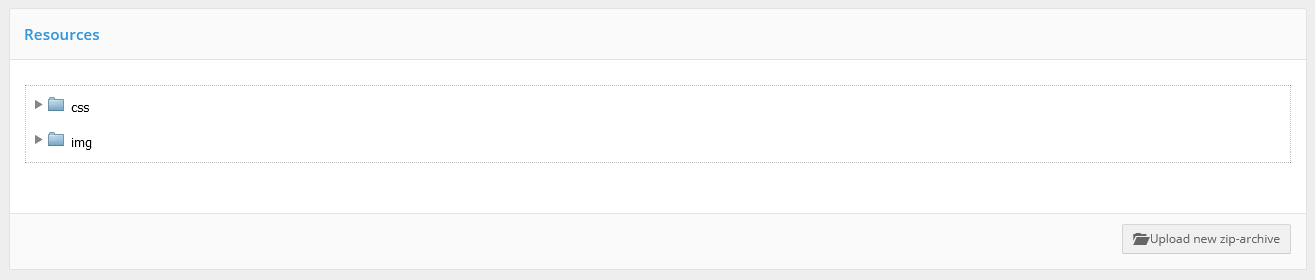
When you design a login page template you have the ability to use resources, like CSS and images.
To upload them, you should use the “Resources” block of the page appearance, which allows you to upload the necessary files in a zip archive. To make the corresponding files available, they should be placed in the archive directory named assets. The required resources can also be manually included in the original zip archive with the page template.
To enable a language switch in the template body, add the following block:
<div ...>
  <section class="language-section">
    <div class="language-selector">
      <select id="lang-selector"></select>
    </div>
  </section>
  @langSelector()
</div>