International providers#
Apple ID#
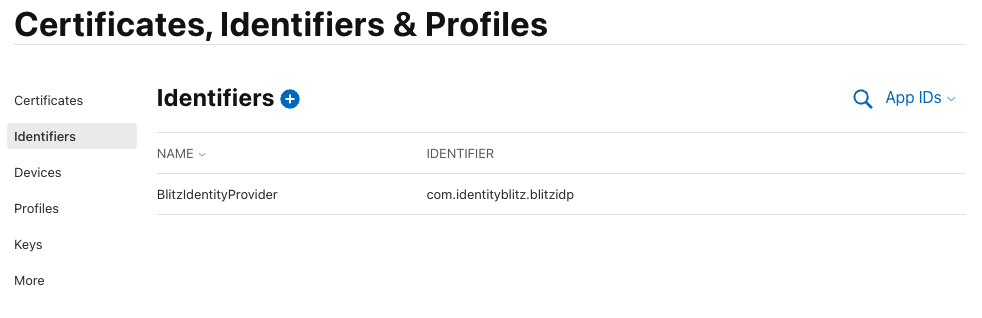
To configure logging in via Apple ID, go to “Apple Developer Account” (note, the company must have a valid Apple Developer ID subscription) to the “Certificates, Identifiers & Profiles” section, where you perform the following operations:
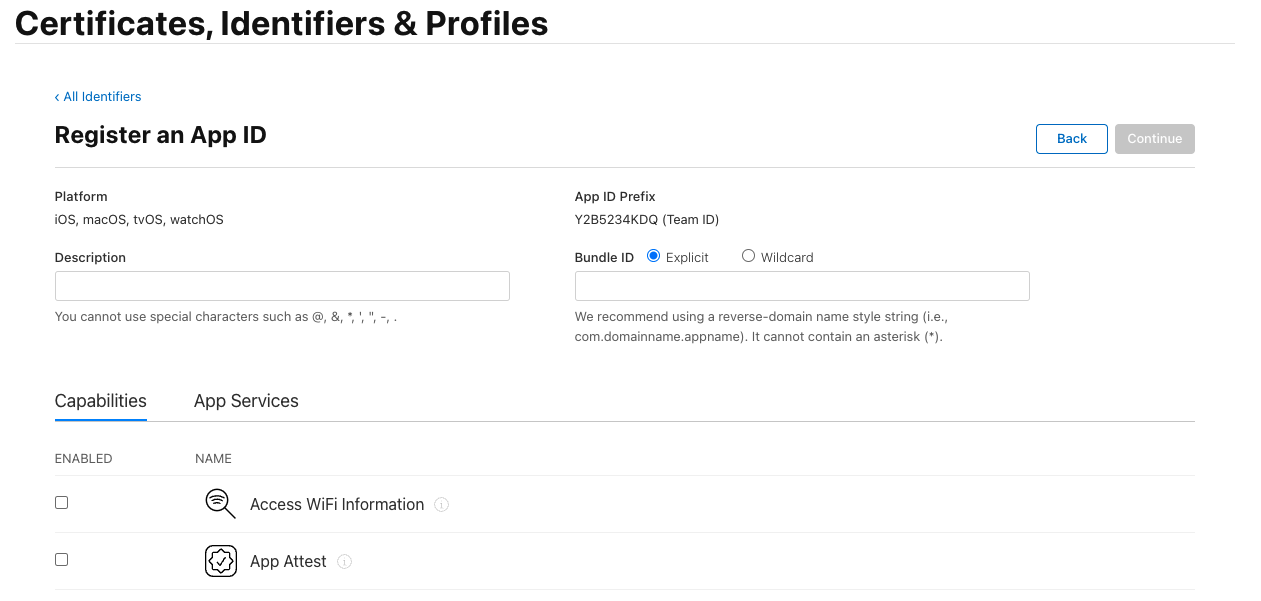
In the “Certificates, Identifiers & Profiles” window, select the “App IDs” filter in the upper right corner. Use the “+” button next to “Identifiers” to create a new “App ID”:
select the
Apptype;set “Description”. It will be displayed to the user in the Apple ID login confirmation window;
in “Bundle ID” set an identifier of the form
com.company.loginbased on the domain used in Blitz Identity Provider;in “Capabilities” check “Sign In with Apple”, click the
Editbutton next to it, and check that “Enable as a primary App ID” is selected;you will be prompted to complete the configuration - all this is described in the following paragraphs. For now you should press “Register”.
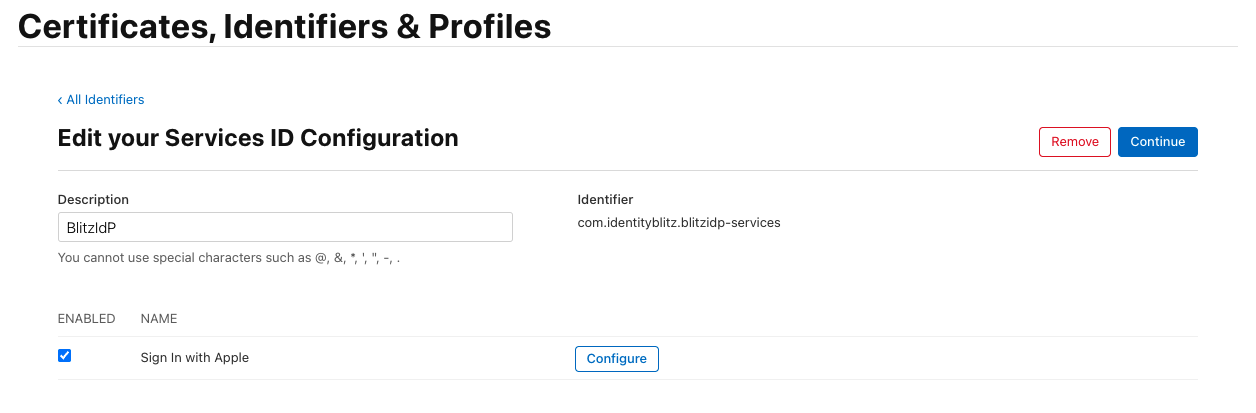
In the “Certificates, Identifiers & Profiles” window, select the “Services App IDs” filter in the upper right corner. Use the “+” button next to “Identifiers” to create a new “Services App ID”:
set “Description”. It will be displayed to the user in the Apple ID login confirmation window;
set “Identifier”. It is recommended to set it as
com.company.loginbased on the domain used in Blitz Identity Provider. Later the createdIdentifiermust be entered in Blitz Identity Provider settings asclient_idin the “Service ID” setting;press ”Register”;
select the created “Service ID”. In its settings, check the “ENABLED” checkbox and click “Configure”;
in the opened window, check that the “Primary App ID” contains the previously created “App ID”;
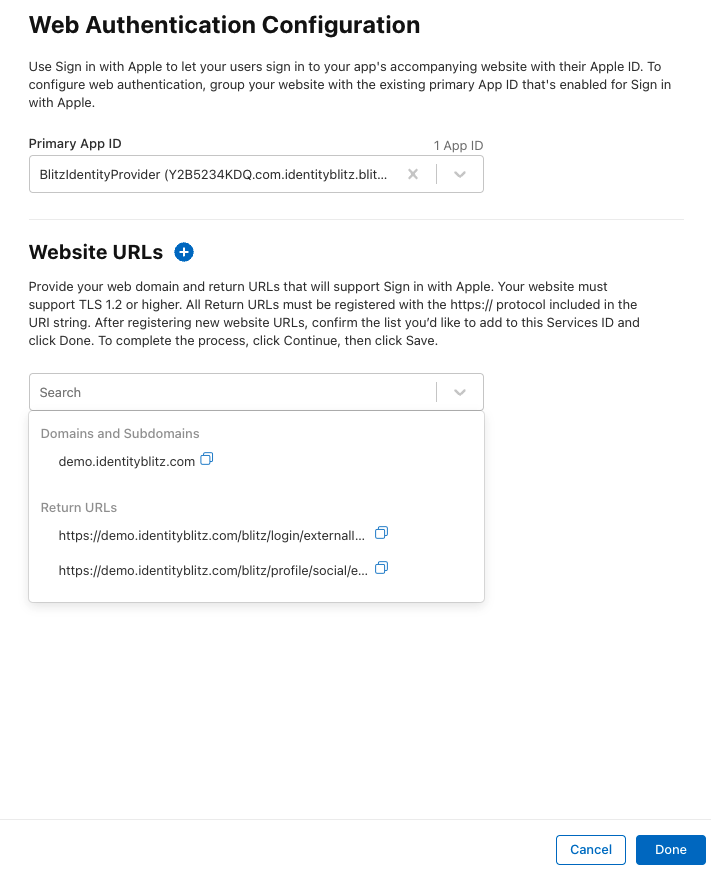
in “Domains and Subdomains” list the domains used by Blitz Identity Provider, separated by commas;
in “Return URLs” list the
URLsof the return, separated by commas and specifyinghttps. You must specifyURLs, samples of which Blitz Identity Provider shows in the Apple ID connection settings, for example:
https://login.company.com/blitz/login/externalIdps/callback/apple/apple_1/false
https://login.company.com/blitz/profile/social/externalIdps/callbackPopup/apple/apple_1
confirm the settings by pressing “Confirm”, “Done”, “Continue”, “Save” in successive screens;
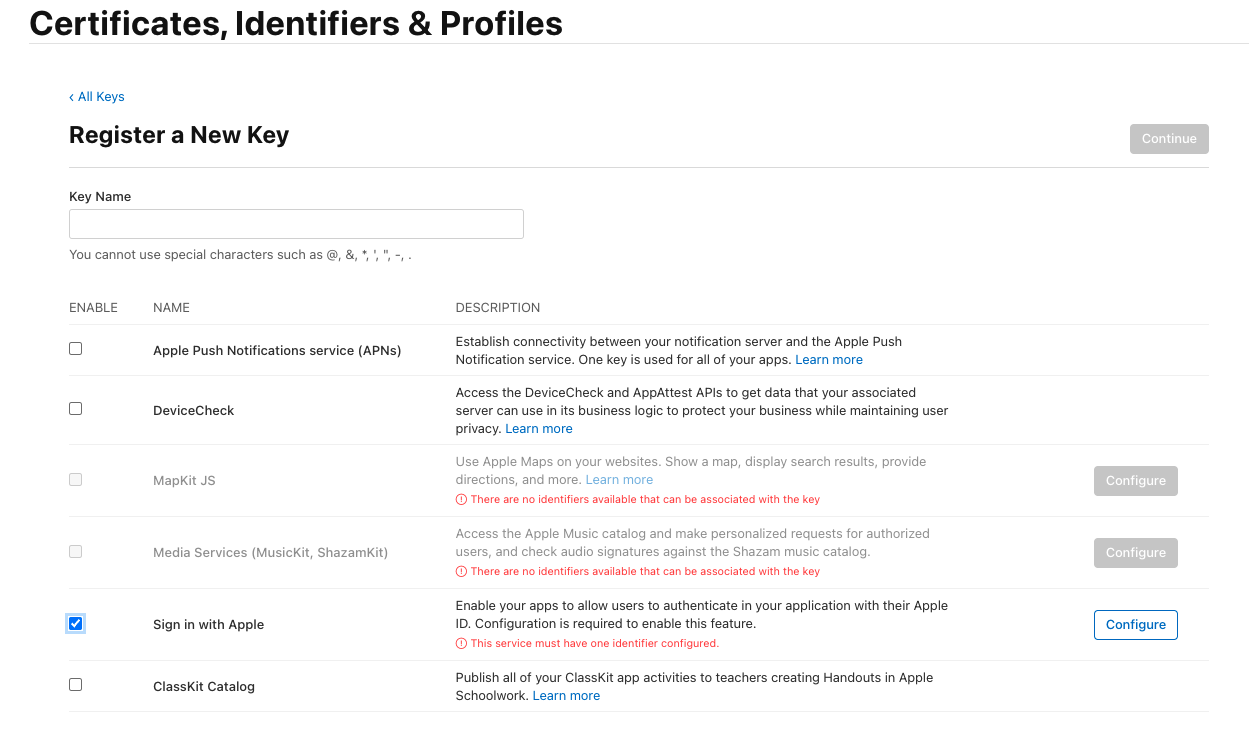
In the “Keys” menu, create a key for “Sign In with Apple”. This can only be done once, so it is recommended to save the created key somewhere. In Blitz Identity Provider this key is not currently used and will not be needed, but it should be created and saved for the future.

Once you have completed the settings in the Apple Developer Account, you need to:
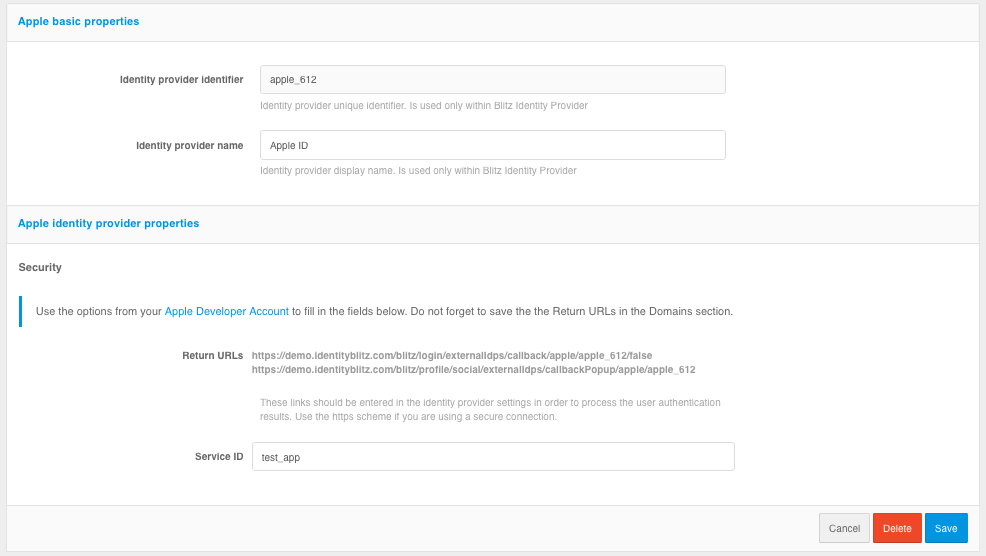
Go to the Blitz Identity Provider Admin console and add a provider that is of
Appletype.Fill in the Identity Provider settings:
Provider identifier;
Provider name;
The client identifier (
Service ID) obtained in the Apple Developer Account.
Customize binding rules.
In the ”Authentication” section of the Management Console, enable the use of the Apple Identity Provider authentication method.
Google#
To configure a Google login, you need to follow the steps below:
Go to Google API Manager, in which you perform the following operations:
go to “Credentials”;
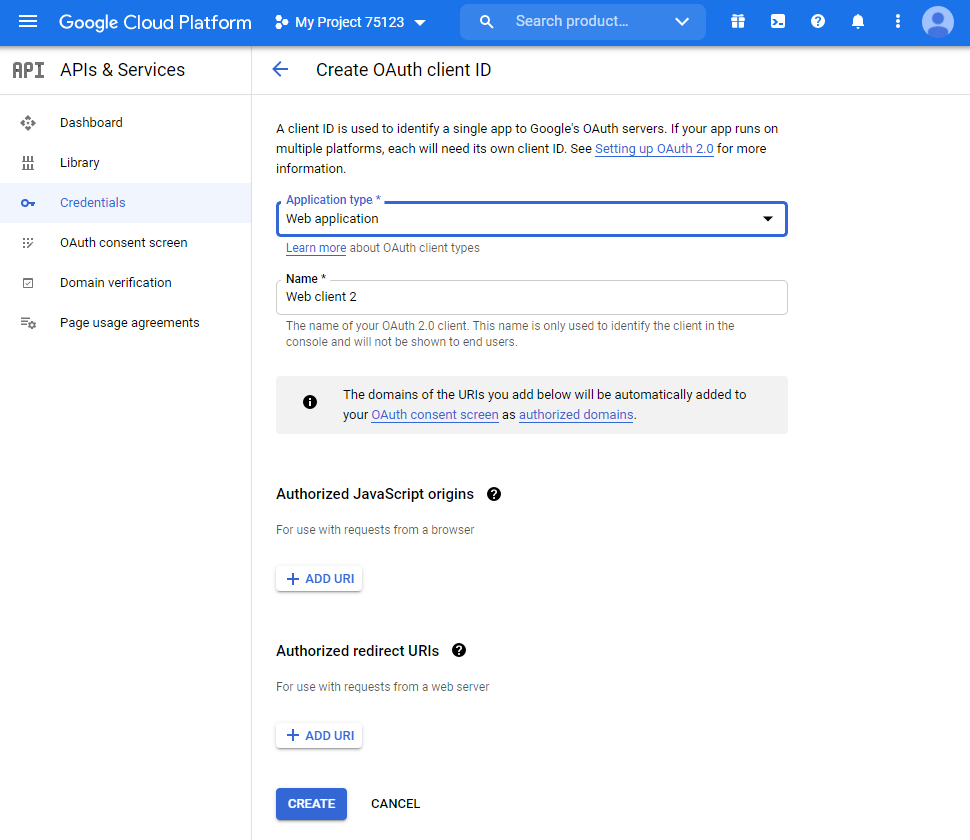
create a project and create new credentials of the “OAuth Client ID” type;
type of new client identifier (e.g., web application) and give it a name;
do not set any restrictions, they will be specified later;
Google will generate the client ID and secret, it will be needed later in the Blitz Identity Provider admin console.
in “Allowed redirect URIs” list the
URLreturn comma separated withhttps. You must specifyURLs, samples of which Blitz Identity Provider shows in the Google connection settings, e.g.:
https://login.company.com/blitz/login/externalIdps/callback/google/google_1/false
https://login.company.com/blitz/profile/social/externalIdps/callbackPopup/google/google_1
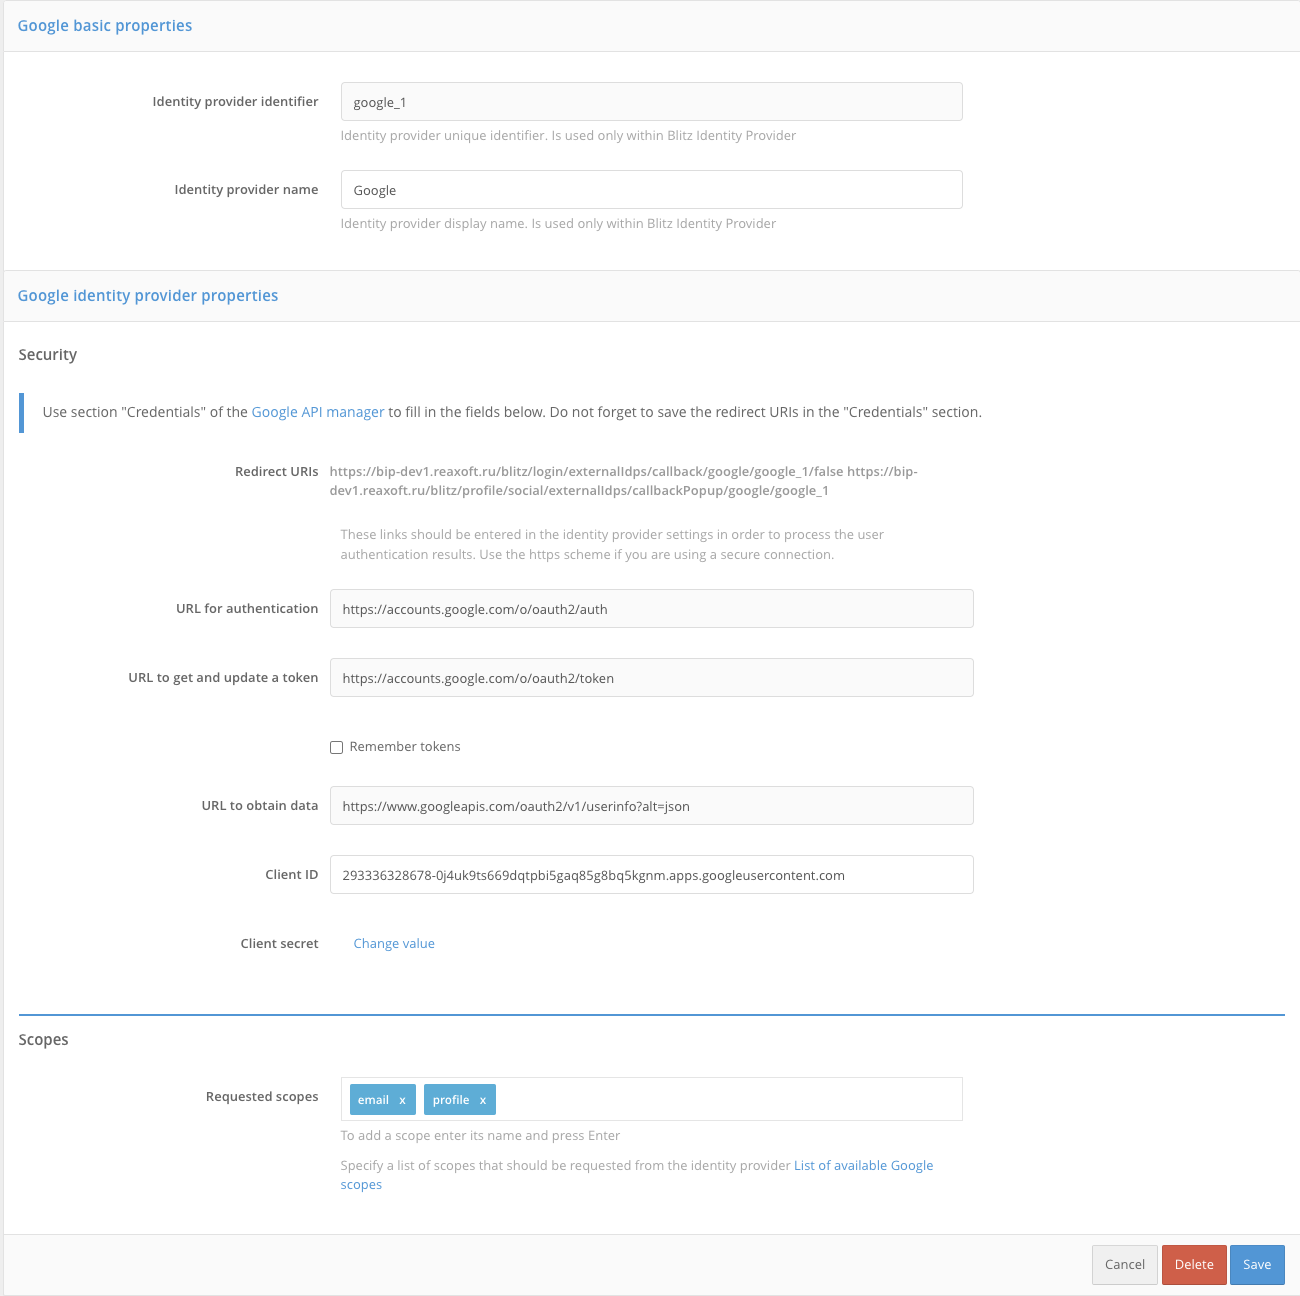
Go to the Blitz Identity Provider Admin console and add a provider that is of
Googletype.Fill in the Identity Provider settings:
Provider identifier;
Provider name;
The client identifier (
Client ID) obtained from Google API Manager;The client secret (
Client secret) obtained from Google API Manager;URL for authorization;
URL for getting and updating the access token;
Note
If user access tokens are to be saved to the database, check
Remember tokens. As a result, the tokens will be saved in the following cases:when a user logs in;
when binding an external provider to User profile;
when binding an external provider via REST API v2;
when registering a user via an external provider;
URL for getting user data;
Requested scopes (
scope) provided in Google.
Customize binding rules.
In the ”Authentication” section of the Management Console, enable the use of the Google Identity Provider authentication method.
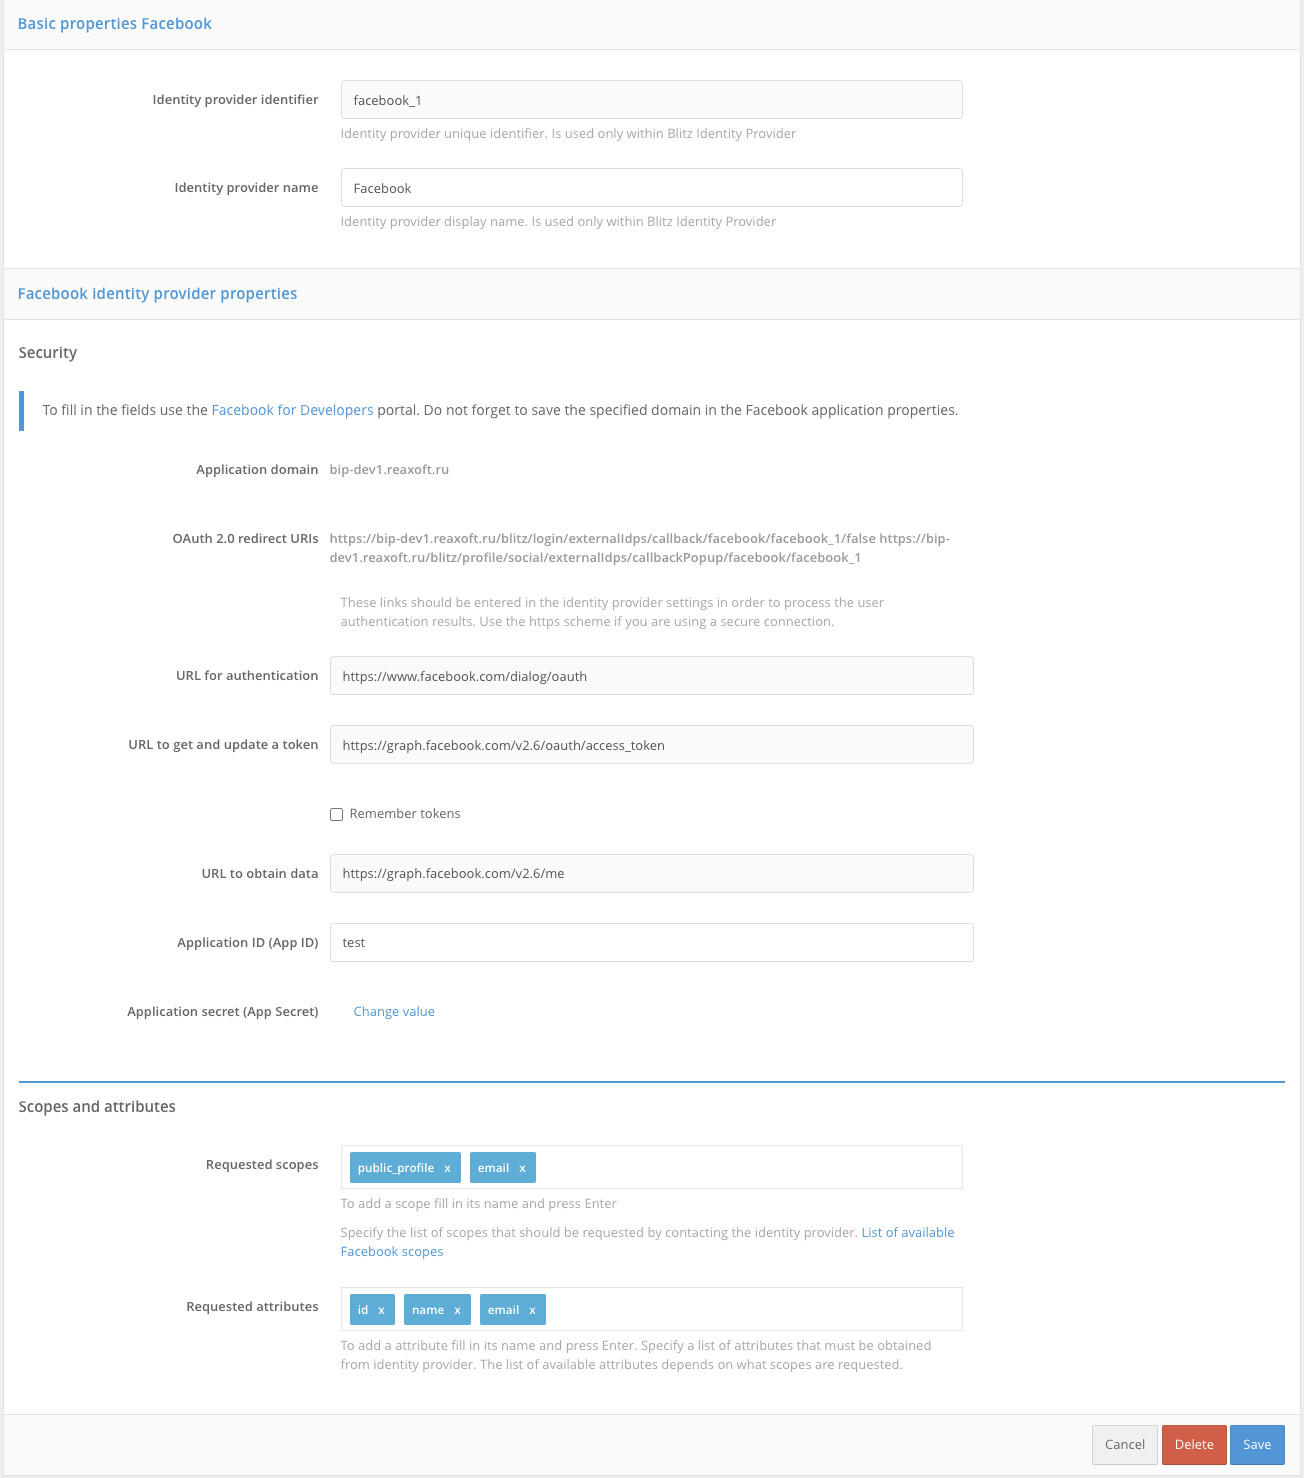
Facebook [1]#
To configure login via Facebook you need to follow the steps below:
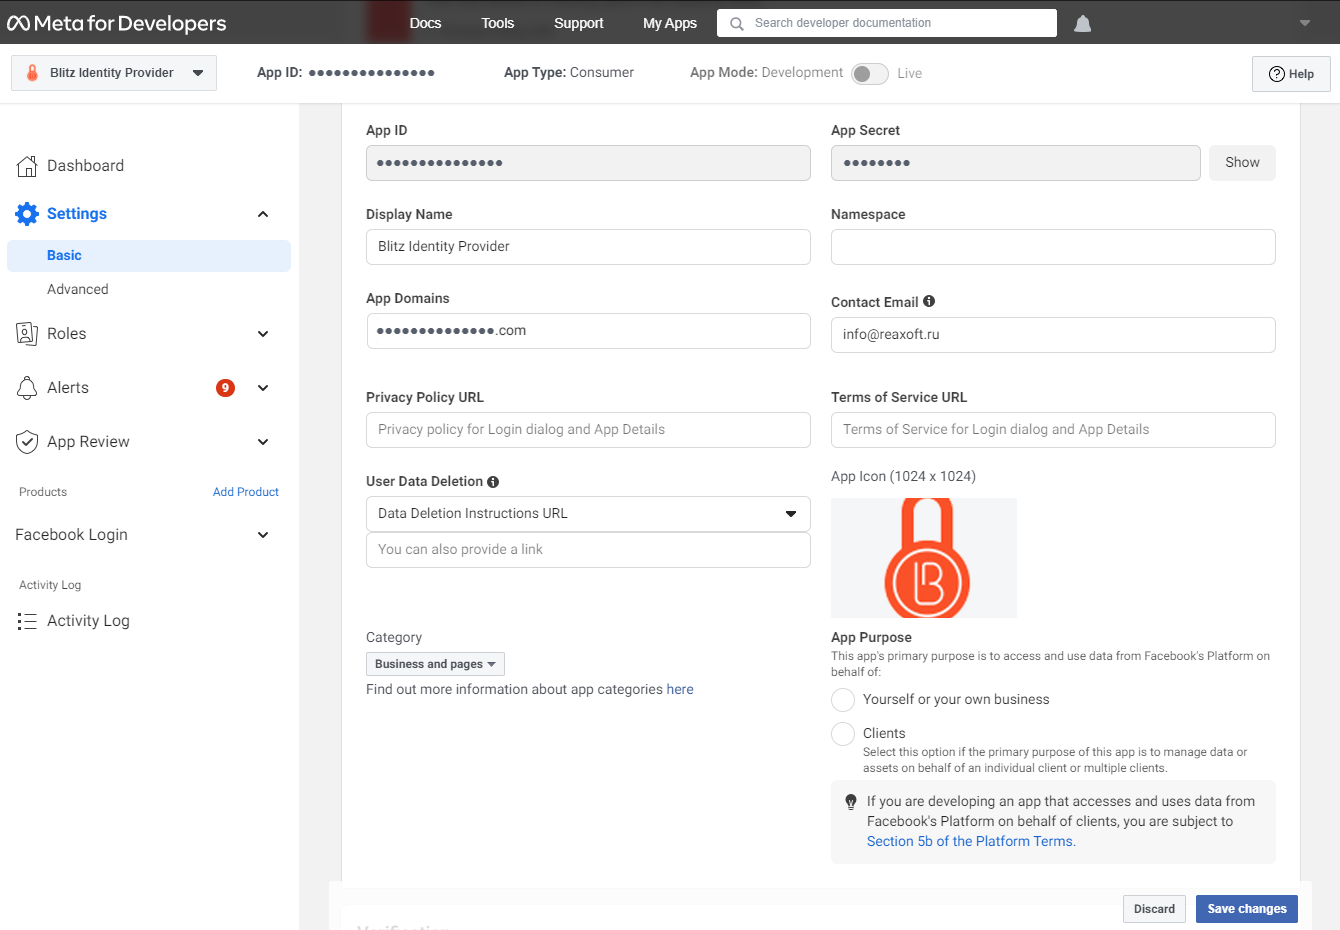
Go to the Facebook for developers console , in which you make the following settings:
add a new application by specifying its name, e-mail address for communication, and application category;
create an application identifier;
go to the application settings, section “General”. In this section, specify the “Application domains” parameter (the parameter must correspond to the domain where Blitz Identity Provider) is installed) and add a site with a similar URL.
go to “Verify Application” and activate the item “Make Application «…» available to everyone”.
Go to the Blitz Identity Provider Admin console and add a provider that is of
Facebooktype.Fill in the Identity Provider settings:
Provider identifier;
Provider name;
The application identifier (
App ID) obtained from the Facebook for developers console;Application Secret (
App Secret) obtained from Facebook’s developer console;URL for authorization;
URL for getting and updating the access token;
Note
If user access tokens are to be saved to the database, check
Remember tokens. As a result, the tokens will be saved in the following cases:when a user logs in;
when binding an external provider to User profile;
when binding an external provider via REST API v2;
when registering a user via an external provider;
URL for getting user data;
Requested scopes (
scope) provided in Facebook;Requested attributes provided by Facebook; it is acceptable to specify only those attributes provided by the selected permissions.
Customize binding rules.
In the “Authentication” section of the Management Console, enable the use of the Facebook Identity Provider authentication method.